How to Store a Tooth Repair Kit for Maximum Shelf Life
A tooth repair kit is a smart addition to any household or travel first aid kit, but its effectiveness depends on proper storage. These kits contain sensitive materials like dental cement, filling compounds, and adhesives that can lose their effectiveness if not stored correctly. By following simple storage guidelines, you can ensure your kit remains ready to use when emergencies arise.
Why Proper Storage Matters
Tooth repair kits are designed to be reliable in emergencies, but exposure to air, heat, and moisture can shorten their shelf life. Improper storage may cause:
- Drying out or hardening of filling material
- Loss of adhesive strength in dental cement
- Contamination of applicators or tools
- Reduced effectiveness during emergencies
Best Practices for Storing a Tooth Repair Kit
1. Keep It Cool and Dry
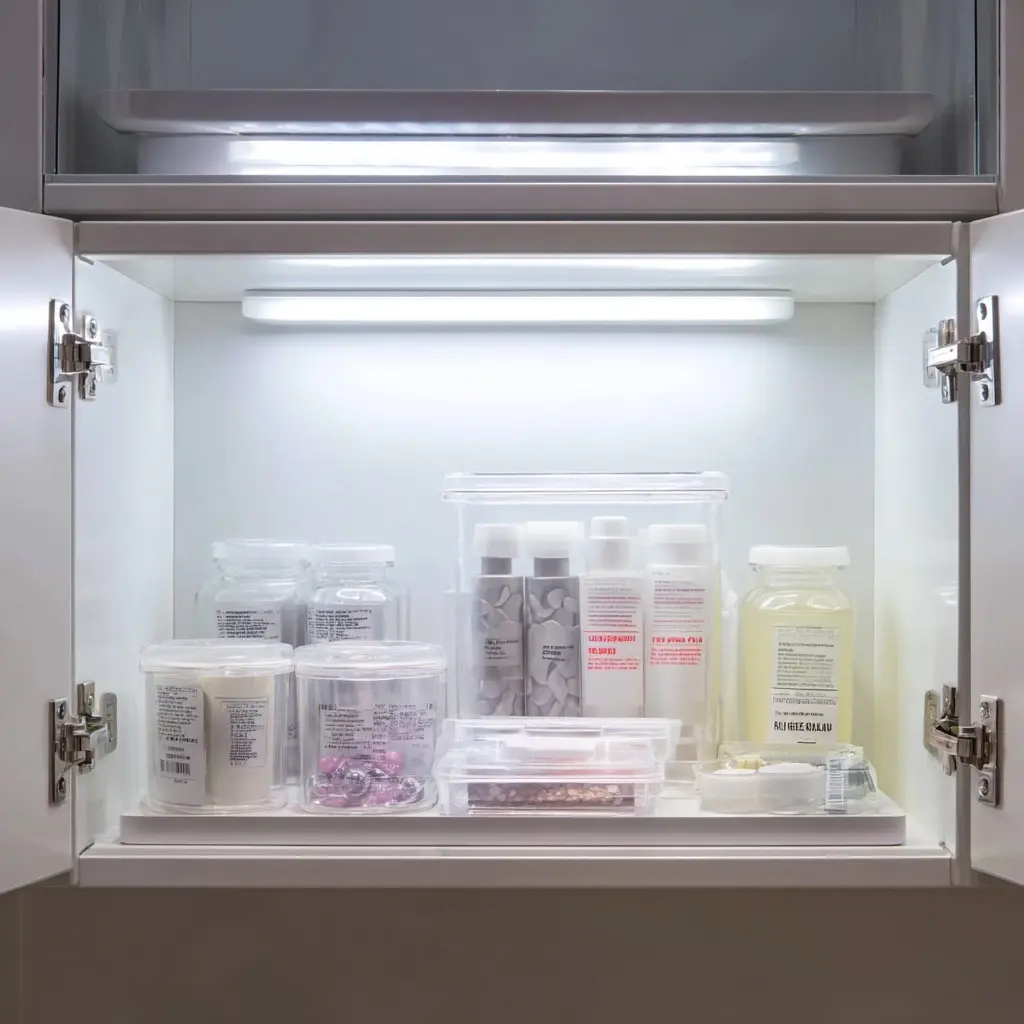
Store the kit in a room-temperature environment away from direct sunlight, heat sources, or humidity. Bathrooms may not be ideal due to moisture exposure—opt for a bedroom drawer or hallway cabinet instead.
2. Use Airtight Containers
Placing the kit inside a resealable plastic bag or airtight container helps prevent moisture damage and contamination.
3. Avoid Frequent Handling
Only open the kit when necessary. Constant exposure to air can dry out filling compounds or gels prematurely.
4. Store Away from Children and Pets
Tooth repair kits often contain medical-grade materials that should only be used as directed. Store them out of reach to prevent accidental misuse.
5. Check Expiration Dates Regularly
Even when stored properly, all kits have a shelf life. Mark the expiration date on your calendar and replace expired kits promptly.
Travel-Friendly Storage Tips
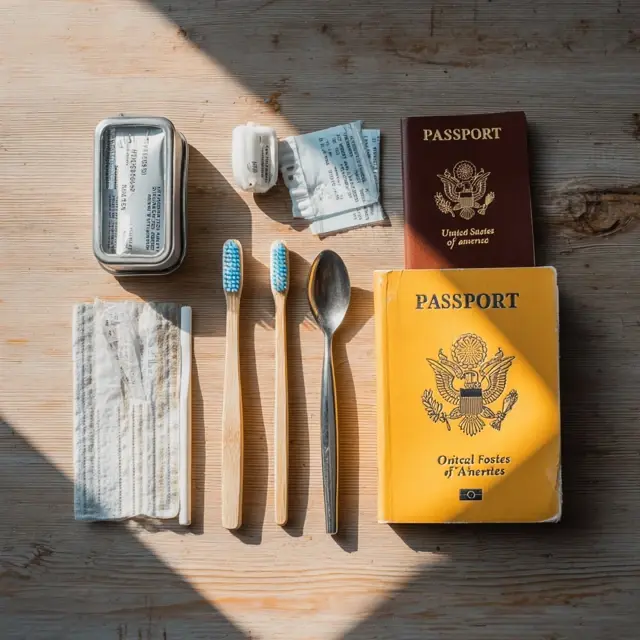
If you plan to keep a tooth repair kit in your travel bag or car, remember:
- Use a sturdy case to protect contents from movement
- Avoid leaving the kit in hot cars, especially during summer
- Pack it with other medical essentials for quick access
Signs Your Kit May No Longer Be Effective
Replace your kit if you notice:
- Clumpy or hardened filling material
- Dry or cracked dental cement
- Discolored gels or liquids
- Packaging damage that could cause contamination
Related Resources
For more practical guidance, see our article on managing dental emergencies at home and our guide to best dental kits for emergency use.
Final Thoughts
Storing your tooth repair kit correctly ensures it’s always ready when you need it most. By keeping it cool, dry, and sealed, and by monitoring expiration dates, you’ll extend its shelf life and guarantee reliable results during dental emergencies.
